It is possible for one person to perform the guide rod assembly alone but it will be easier with two pairs of hands. Do not worry, you will only ever need to fit the spring to the guide rod once since the guide rod assembly can be handled and cleaned as a complete unit. Items identified in green are named in accordance with the official Beretta CX4 parts diagram.
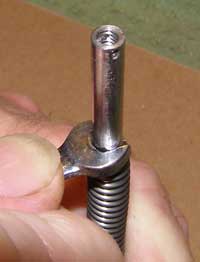

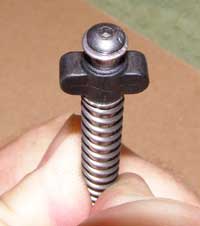

Guide Rod assembled and ready for use.
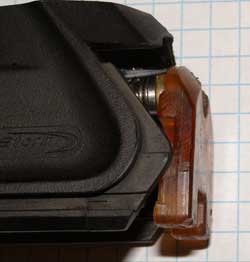
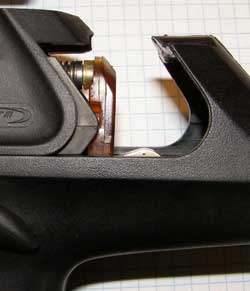
The guide rod is now ready for assembly into the "Bolt". Install the guide rod and spring into the bolt in exactly the same manner as the original item. Fit the bolt into the CX4 upper and attach the buffer. The buffer is a tight push fit onto the guide rod. At first sight this may seem to be an insecure attachment but bear in mind that the spring and buffer are under strong compression when the rifle is assembled. There is no possibility of the buffer moving out of position when the rifle is in use.